There are several ways to set up virtual networks. I experimented with several options prior to finding this particular method. I found that not using RRAS had complications in environments with strange DNS rules like hotels. This method is an example of trial and error, so if there are any network experts out there that see an alternate way to set up this configuration, let me know.
The first thing we need to do is launch Server Manager and add a new role.

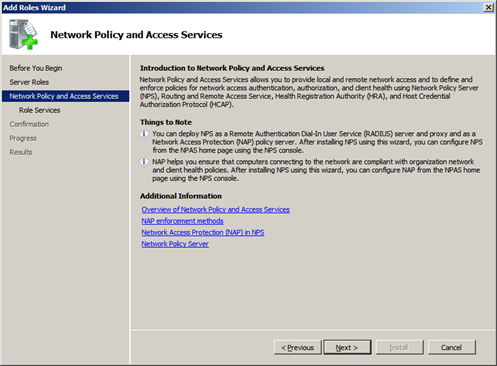
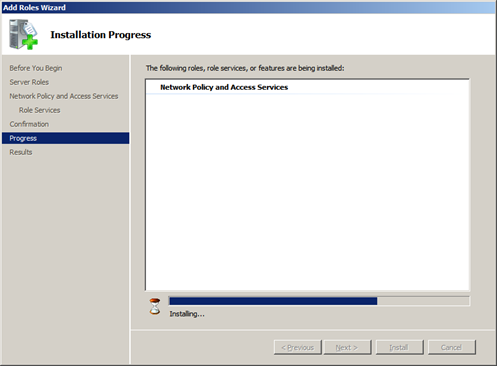
The role we are looking for is ‘Network Policy and Access Services’. Check it and move on. You should see the following illustrations as you follow the wizard.



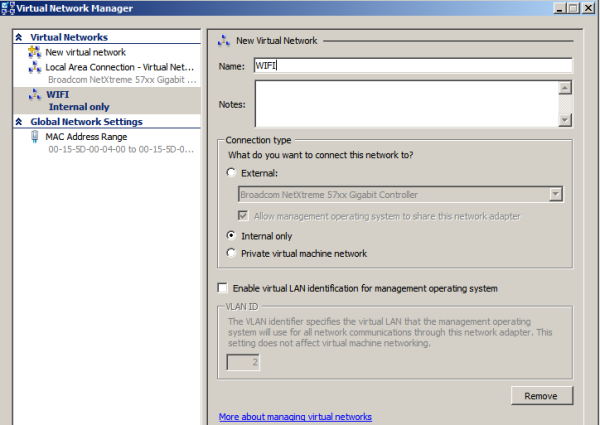
Now that we have completed the steps for RRAS role, we are going to create virtual networks for our Hyper-V images. We do this by first launching the Hyper-V manager and clicking on the Virtual Network Manager. You should see the dialog box shown below:

In my environment, I have created two virtual networks: LAN and WIFI. I tie ‘LAN’ to my Local Area Connection associated with my internal network card and ‘WIFI’ to the Local Area Connection associated with my wireless connection. I will walk you through these steps in the following illustrations:




Now that we have created our two new network connections, we are going to bridge ‘LAN’ to the internal network card (Broadcom NetXtreme 57xx Gigabit). To do this, select both networks connections, right click, and select ‘Bridge Connections’.
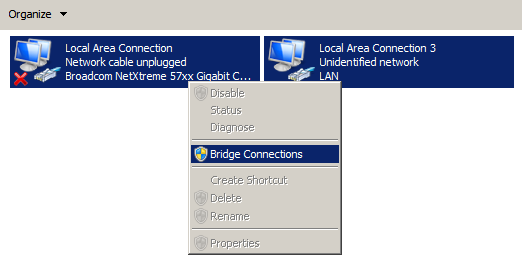
Bridging these two connections creates a new ‘Network Bridge’. Select the properties and follow along the images below, ensuring that you set the IPs as indicated. This will make it easier for you to complete the other tutorials in this series. If you select a different IP, make a note as you go through the series so that you do not forget to change it on the walk-throughs.

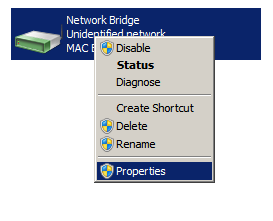
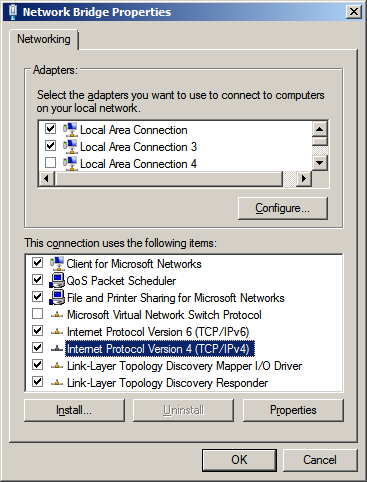
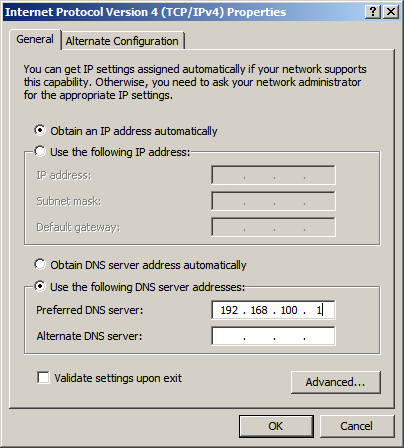


We will now uncheck the ‘Internet Protocol Version 6′ connection. This causes errors that gets reported in the Roles summary.
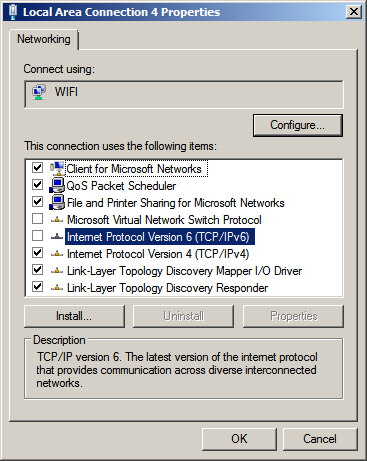

Here is a copy of the error.

We will now complete the RRAS configuration. Navigate to the Server Manager and drill down the roles. You will find that Routing and Remote Access has a red indicator. Follow the illustrations below to complete the configuration.

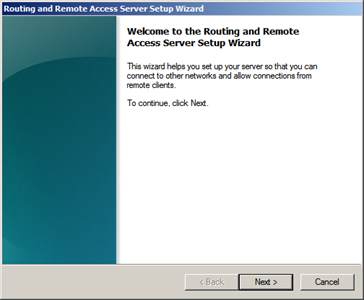


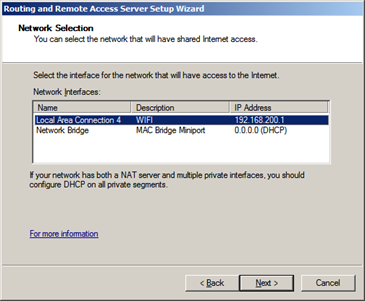


This should complete the configuration of RRAS. From here we will start building out our server components that will be required to get the SharePoint 2010 farm up and running. To see the table of contents for this series, click here
source:
No comments:
Post a Comment